

Wheel Stop Installation Cost, Placement & Compliance
Professional wheel stops installation and supply throughout Southern California. Concrete and rubber wheel stops, rebar anchoring, ADA-compliant placement per California Building Code Section 11B-502.7.2. Supply + install from $65 per stop.
Bowman Line Striping Inc · CA Contractor License #1138257 · BBB Accredited · Veteran-Owned · AQMD Rule 1113 Compliant · (760) 454-1606

How Much Does Wheel Stop Installation Cost in California?
Quick Answer — 2026 Southern California Rates
Professional wheel stop installation in Southern California costs $65–$125 per stop for concrete and $85–$150 per stop for rubber, including supply, rebar anchoring, and reflective painting. A typical 50-space parking lot requiring one stop per space costs $3,250–$6,250 fully installed. Removal of old wheel stops runs $20–$45 per stop.
Wheel Stop Installation Pricing — 2026
All prices below include supply, delivery, professional installation with rebar pin anchoring, and reflective yellow paint. Prices reflect Southern California market rates for commercial parking lot projects.
Full Pricing Table
| Service | Unit | Low | High | Notes |
|---|---|---|---|---|
| Concrete wheel stop — supply + install | Per stop | $65 | $125 | 4-ft or 6-ft precast concrete, rebar anchoring, painted |
| Rubber wheel stop — supply + install | Per stop | $85 | $150 | Recycled rubber, pin or adhesive anchoring |
| Plastic/recycled material — supply + install | Per stop | $90 | $160 | High-visibility molded-in color, pin anchoring |
| Wheel stop removal only | Per stop | $20 | $45 | Extraction, disposal, hole patching |
| Wheel stop replacement (remove + install) | Per stop | $80 | $160 | Remove damaged stop, install new with fresh anchoring |
| Wheel stop repainting | Per stop | $15 | $30 | Reflective yellow/white traffic paint, single coat |
| Re-anchoring (loose stop) | Per stop | $25 | $55 | Extract old pins, re-drill, reset with new rebar pins |
| ADA-compliant repositioning | Per stop | $45 | $95 | Remove, reposition outside access aisle, re-anchor |
| Bulk installation — 20+ stops | Per stop | −10% | −20% | Volume discount — contact for portfolio pricing |
Wheel stop installation bundled with parking lot re-striping saves 15–20% versus scheduling each separately. One mobilization fee, one surface prep crew, one project. We install and repaint wheel stops as part of every full-lot striping project. See all striping services →
Wheel Stop Placement Standards — Distance, Position & Spacing
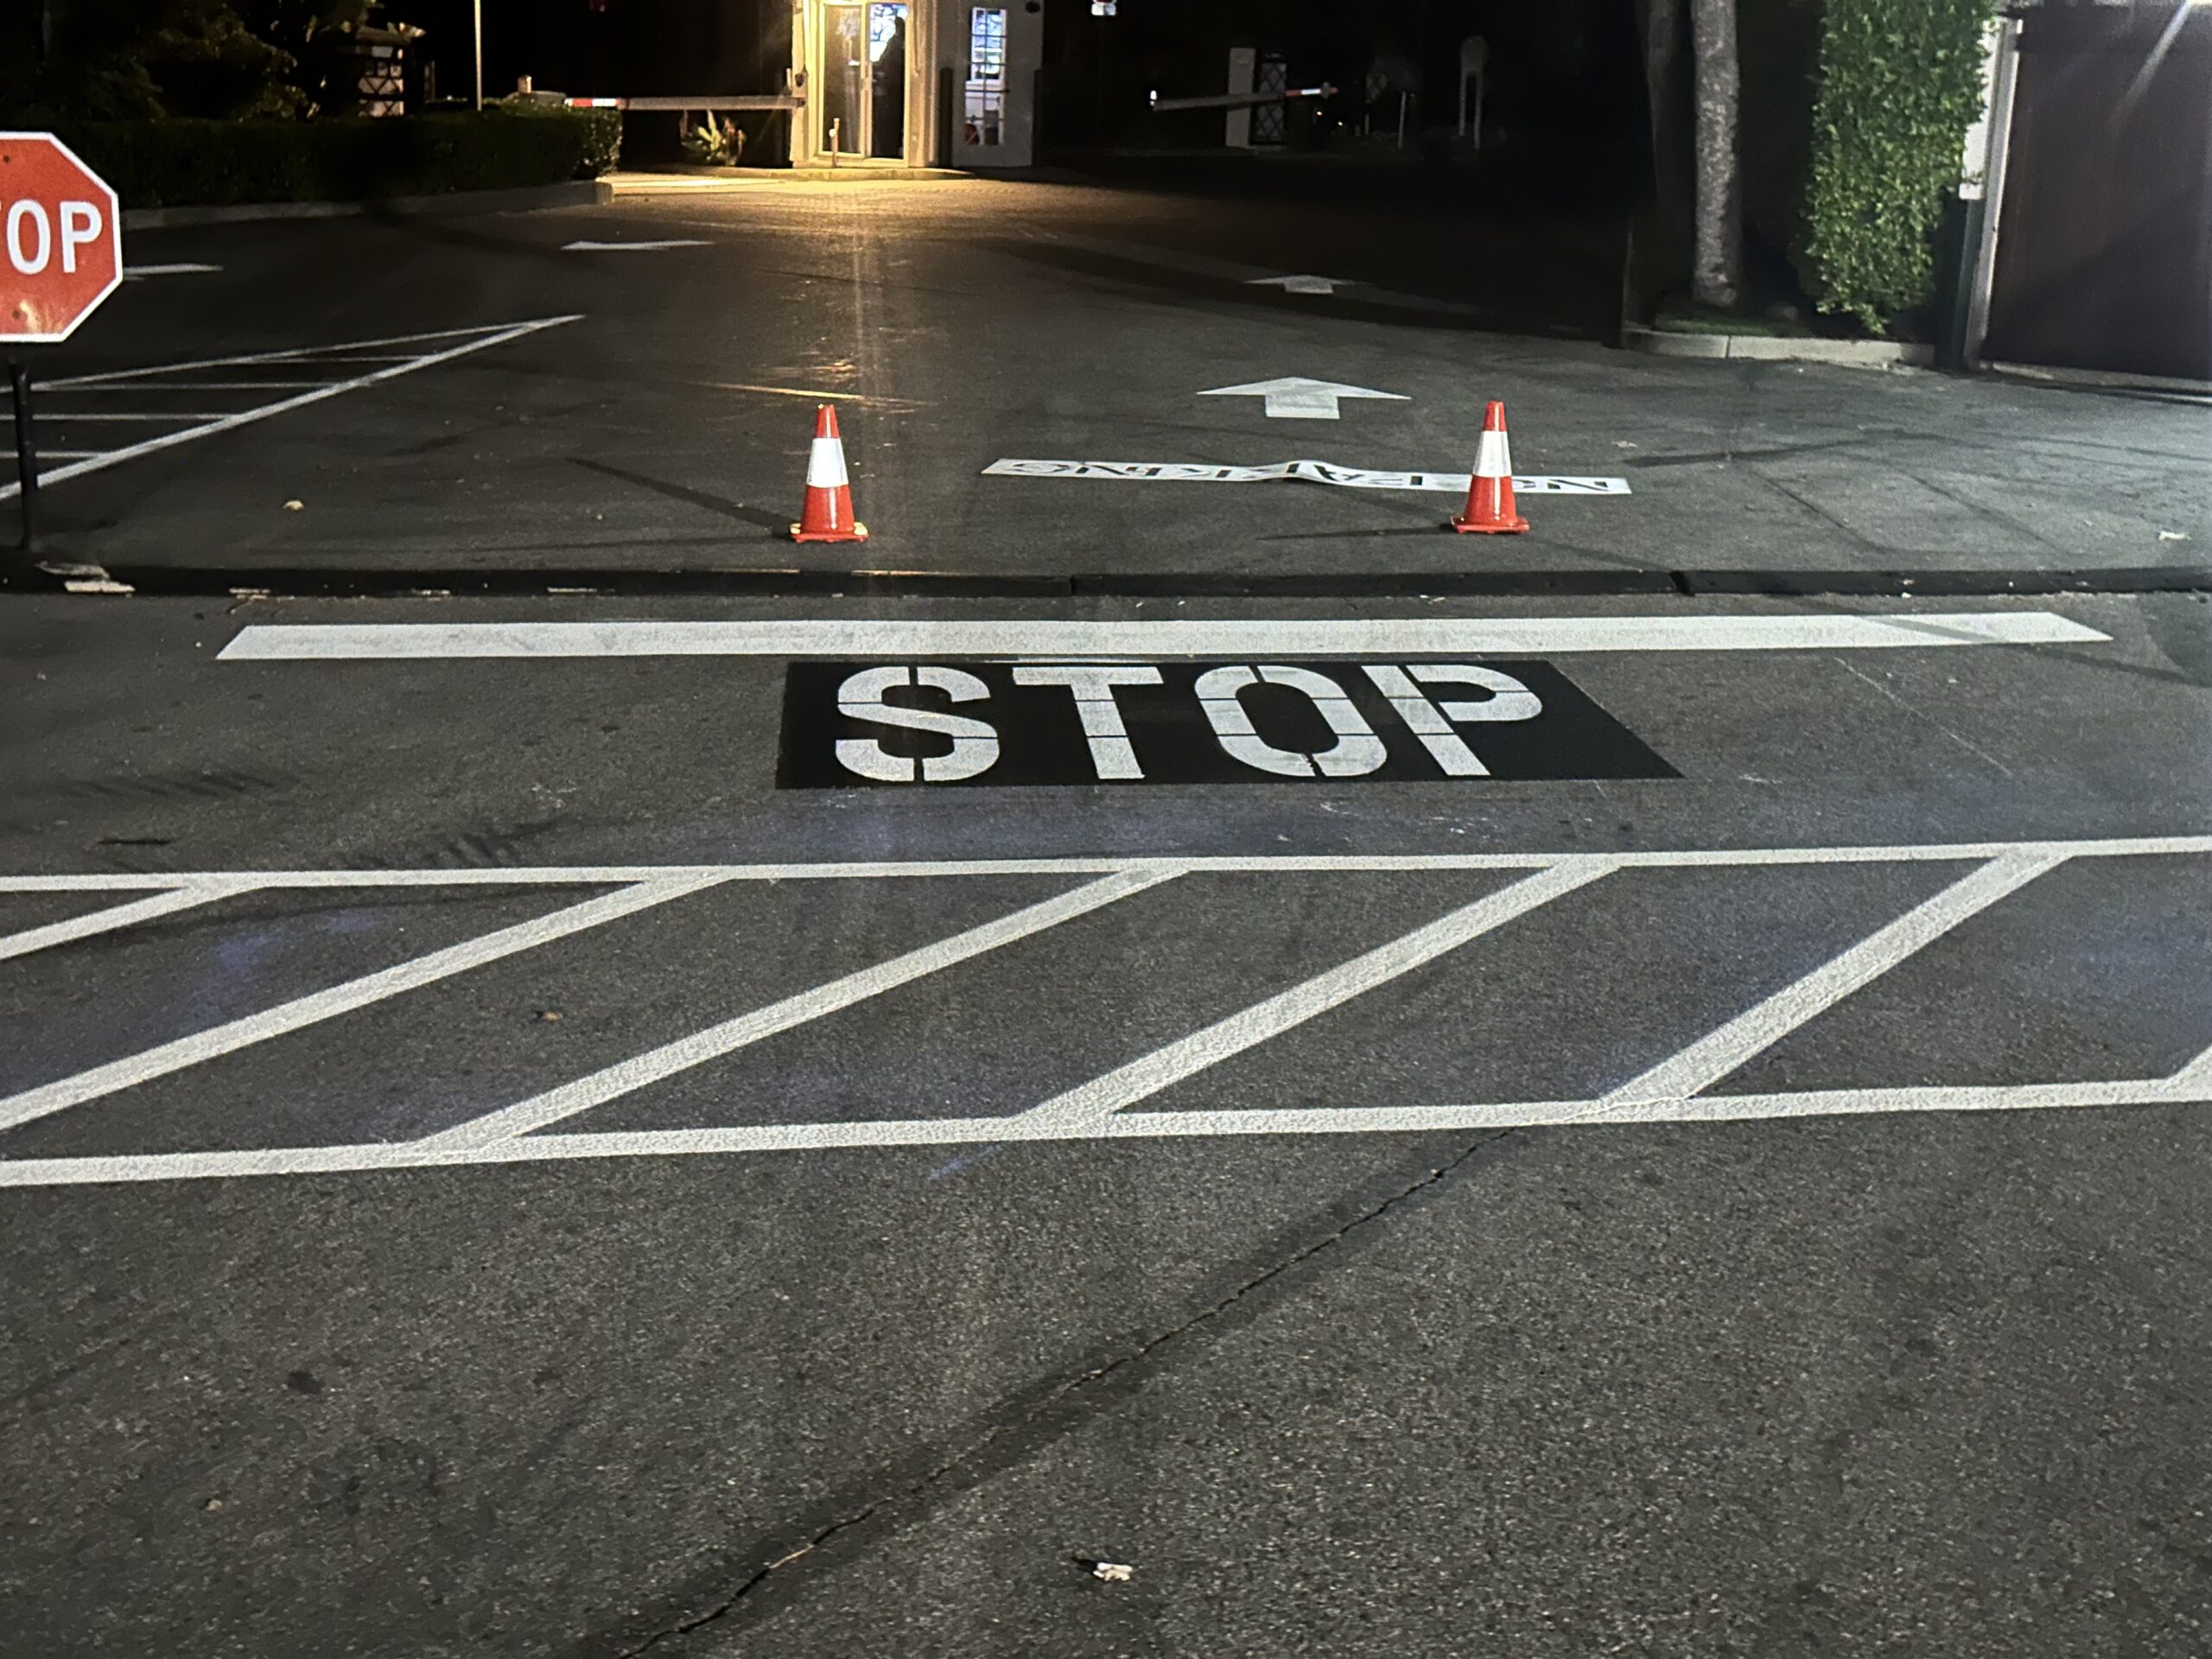
Correct placement is the most critical element of wheel stop installation. Errors in placement distance are the leading cause of ADA violations, trip hazard liability, and vehicle damage from stops placed too close or too far from obstacles.
How Far Should a Wheel Stop Be From a Wall?
Wheel stops should be placed 2 to 3 feet from walls, buildings, and fences. This distance accommodates standard vehicle front overhang — the distance from the front wheels to the front bumper — which averages 2–3 feet on most passenger vehicles. For lots serving primarily SUVs, pickup trucks, or commercial vans, increase setback to 3–4 feet to prevent bumper contact.
How Far Should a Wheel Stop Be From a Curb?
Wheel stops should be placed 2 to 3 feet back from curbs and sidewalks. This prevents vehicle front overhang from extending over the curb or sidewalk edge when tires contact the wheel stop. Overhang over a sidewalk creates a pedestrian hazard and potential ADA violation if the clearance drops below 80 inches of vertical clearance for pedestrian passage.
Complete Wheel Stop Placement Standards
| Placement Requirement | Standard Measurement | Reason |
|---|---|---|
| Distance from wall or building | 2–3 feet | Prevents bumper contact; increase to 3–4 ft for trucks and SUVs |
| Distance from curb or sidewalk edge | 2–3 feet | Prevents front overhang over pedestrian path |
| Distance from accessible route | Minimum 36 inches clear | CBC 11B-402.3 — accessible routes require 36-inch minimum clear width |
| Distance into access aisle | Zero — never encroach | CBC 11B-502.7.2 — wheel stops must not reduce required access aisle width |
| Position within parking stall width | Centered — 18 in each side for 9-ft stall | Even contact with both front tires; prevents miss-stops |
| Gap between adjacent stops | Maximum 6 inches | Prevents vehicles from passing between stops in adjacent spaces |
| Position from front stall line | 3–6 inches behind front line | Keeps stopped vehicle fully within marked parking space |
| Minimum distance from fire lane | Not in fire lanes — ever | CA Fire Code § 503 — fire lanes must remain completely unobstructed |
California Building Code — Section 11B-502.7.2
“A curb or wheel stop shall be provided if required to prevent encroachment of vehicles over the required clear width of adjacent accessible routes.”
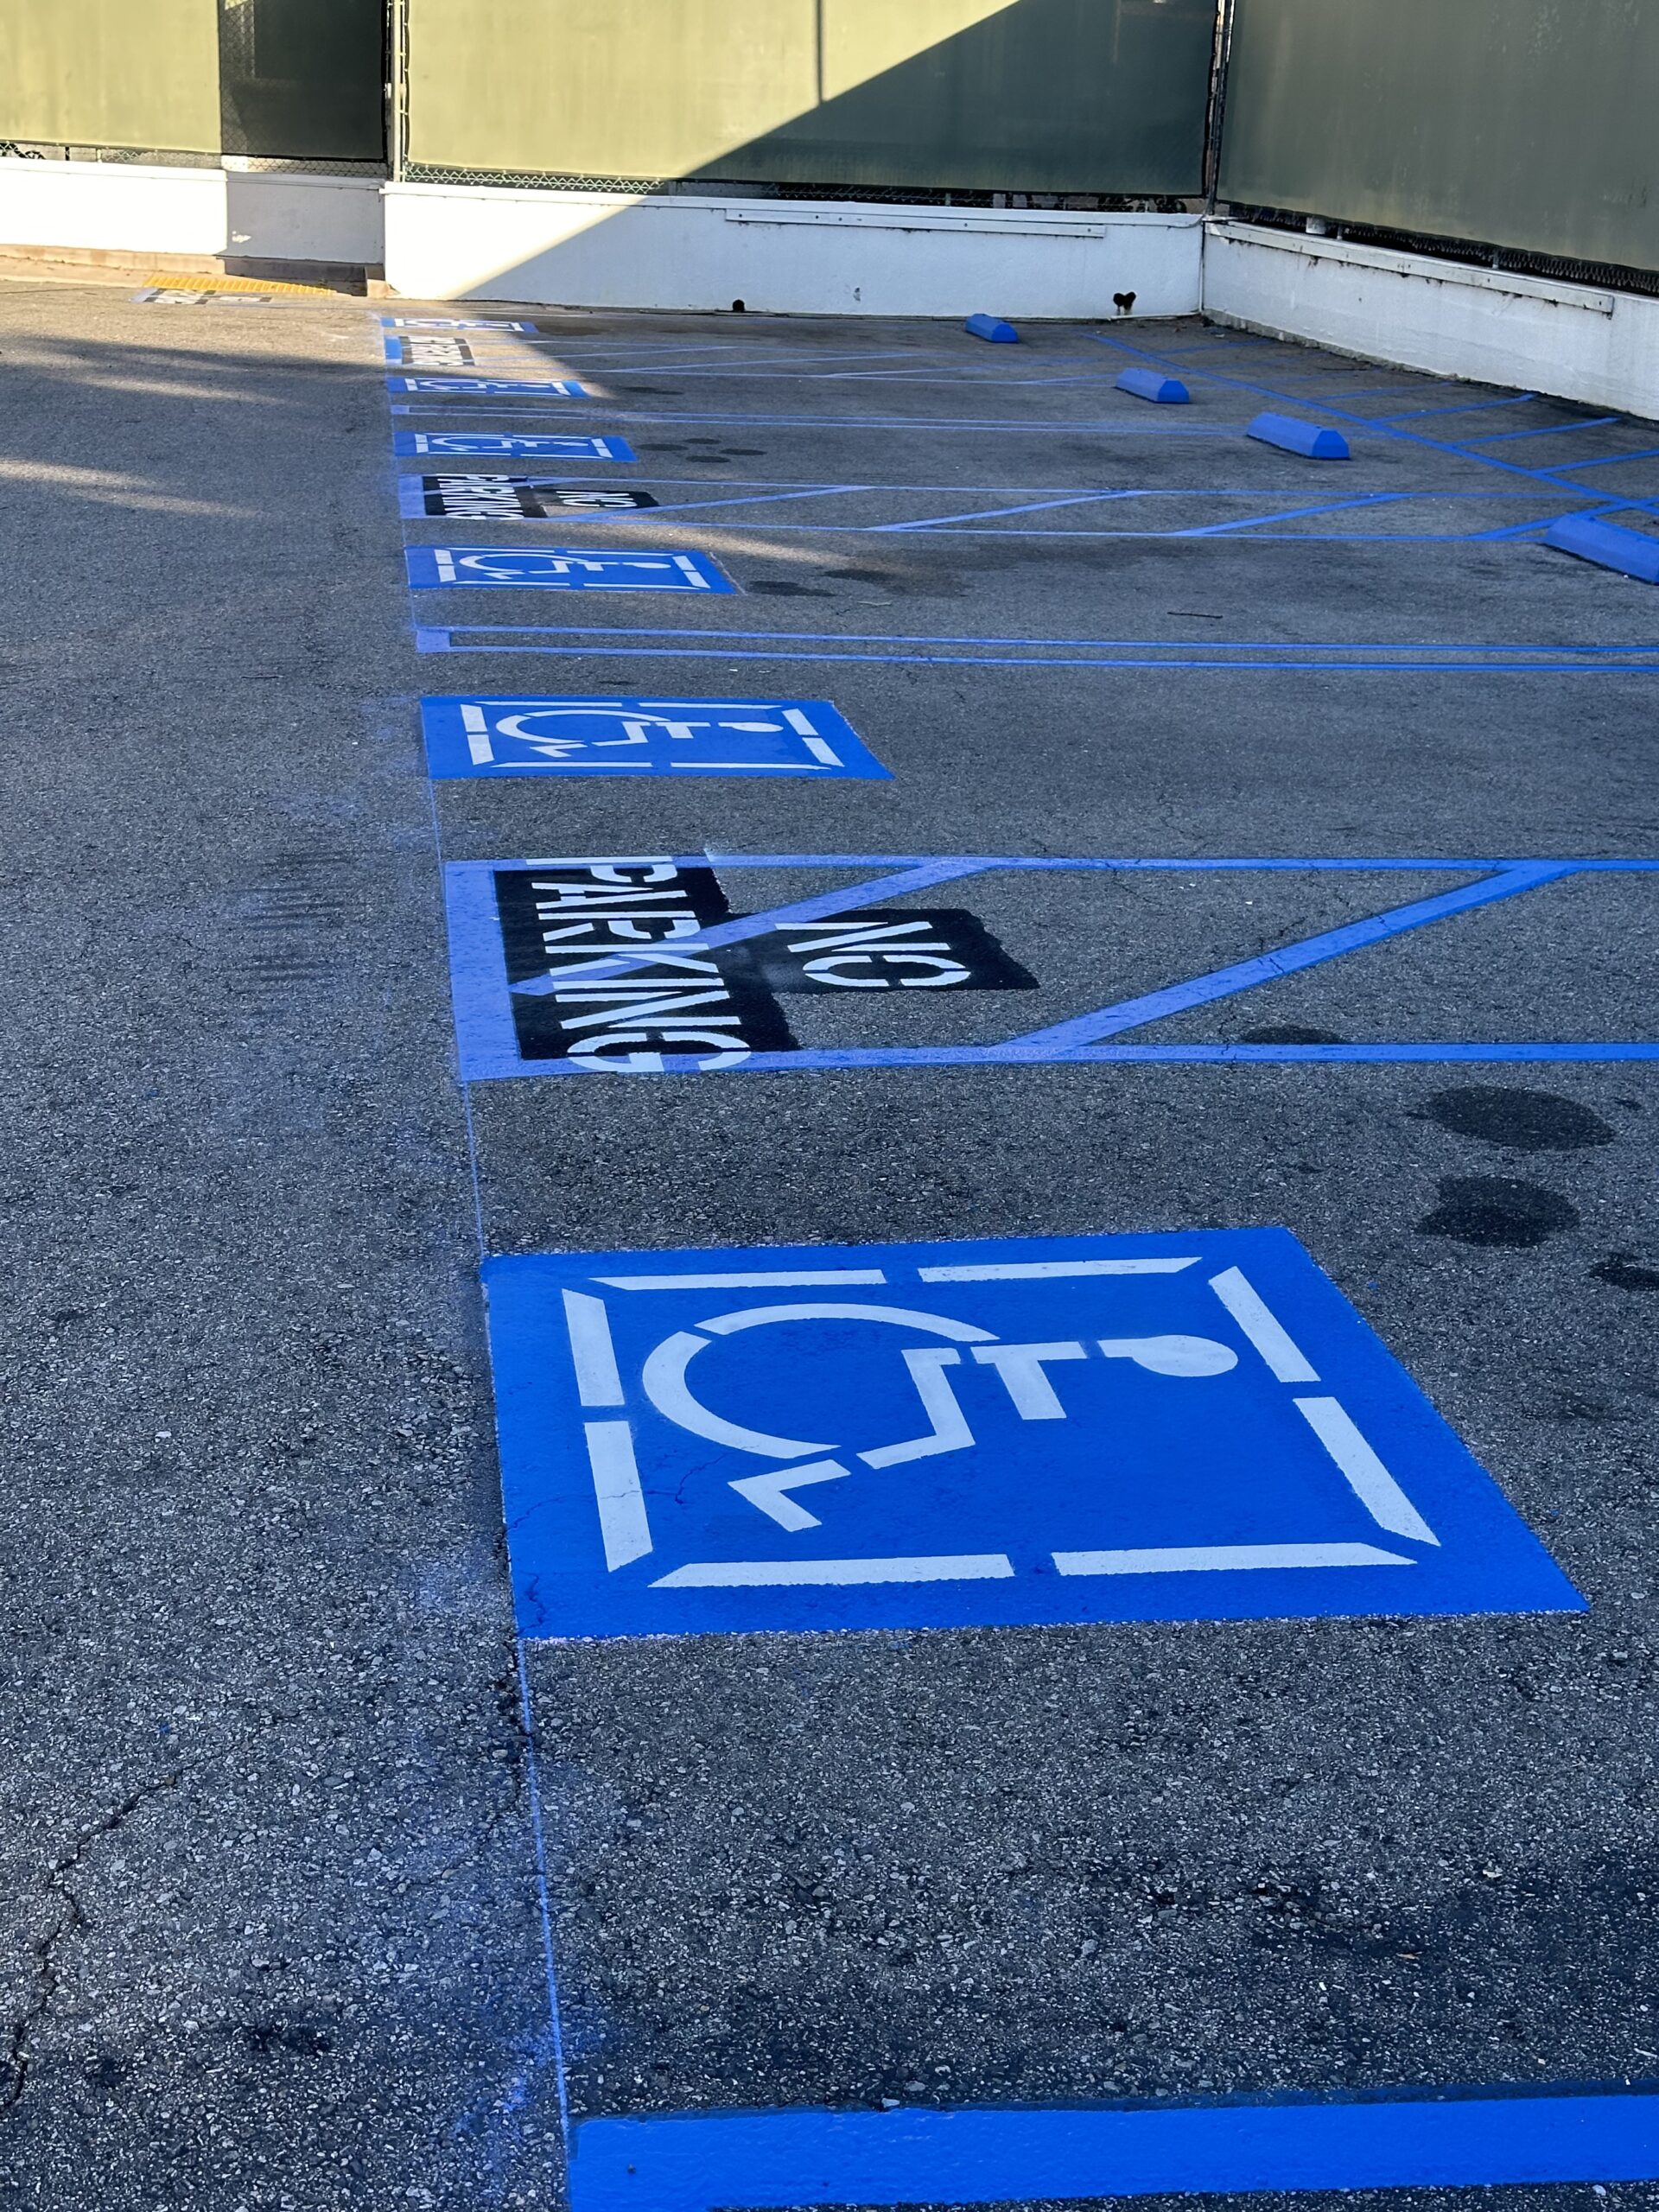
This section establishes two critical compliance requirements. First, wheel stops are required wherever vehicles would otherwise encroach on an accessible route. Second, wheel stops must be positioned so they do not themselves reduce the required clear width of accessible routes or access aisles. A wheel stop that blocks an accessible route creates the exact violation it was intended to prevent. Federal ADA 42 U.S.C. § 12101 requires accessible parking at all places of public accommodation. California CBC Title 24 is stricter than federal ADA in every dimension — placement errors in accessible areas trigger immediate violation status under the Unruh Civil Rights Act (Civil Code § 51), which allows $4,000 minimum per-violation per-visit civil penalties with no proof of injury required. California Vehicle Code § 22500 additionally prohibits parking in a manner that obstructs pedestrian or accessible paths — improperly positioned wheel stops that shift under vehicle impact and block curb cuts or accessible routes create CVC § 22500 exposure for property owners. Full ADA compliance services →
Wheel stops extending even 1–2 inches into accessible parking access aisles reduce required clearance below legal minimums. Standard accessible spaces require 5-foot access aisles. Van-accessible spaces require 8-foot access aisles. Both measurements are from the inside face of the access aisle boundary — not the painted line. Any wheel stop that physically protrudes into that measurement creates an immediate CBC violation. This is the most frequently cited parking lot ADA violation in California. We measure every accessible space to verify wheel stop position before and after installation. ADA compliance striping →
Completed parking lot projects — Southern California · Bowman Line Striping Inc · CA License #1138257
Concrete vs. Rubber vs. Plastic — Which Is Right for Your Lot?
Material selection affects durability, installation cost, maintenance frequency, and ADA compliance risk. The right choice depends on your traffic volume, surface type, climate zone, and whether you anticipate future lot reconfiguration.
🏗️ Concrete
Precast concrete dominates California parking lot installations. Weight of 200–300 lbs per stop provides natural resistance to movement. Accepts reflective traffic paint. Lasts 20–30+ years with minimal maintenance.
Best for: Permanent installations, high-traffic commercial lots, properties not planning lot reconfiguration.
Drawbacks: Heavy — labor-intensive installation and relocation. Can chip or crack from severe impacts. Difficult to move once installed.
Supply + Install: $65–$125 per stop Recommended for most lots♻️ Rubber
Manufactured from recycled tires. Weighs 50–100 lbs — significantly easier to install and reposition. Will not chip or crack. Absorbs vehicle impacts reducing damage. Environmentally preferred.
Best for: Lots anticipating future reconfiguration, properties prioritizing sustainability, parking garages.
Drawbacks: Higher initial cost. Lighter weight requires secure pin anchoring. UV exposure causes fading — needs repainting every 2–3 years. Cannot be painted in-place as easily as concrete.
Supply + Install: $85–$150 per stop Best for flexible layouts🔄 Recycled Plastic
Outstanding UV and weather resistance — ideal for Southern California’s extreme sun. Some models have reflective elements molded in, eliminating painting. Lightweight and easy to handle.
Best for: Coastal properties, high-UV exposure locations (Valley, High Desert), properties seeking lowest maintenance.
Drawbacks: Highest initial cost. Durability varies by manufacturer — specify ASTM-certified recycled material. Limited color options.
Supply + Install: $90–$160 per stop Best for UV exposureHow to Install Wheel Stops — Step by Step
Professional wheel stops installation on asphalt follows a precise sequence. Skipping or rushing any step is the leading cause of stops that shift, trip pedestrians, or create ADA violations. Here is exactly how Bowman installs wheel stops on every California parking lot project.
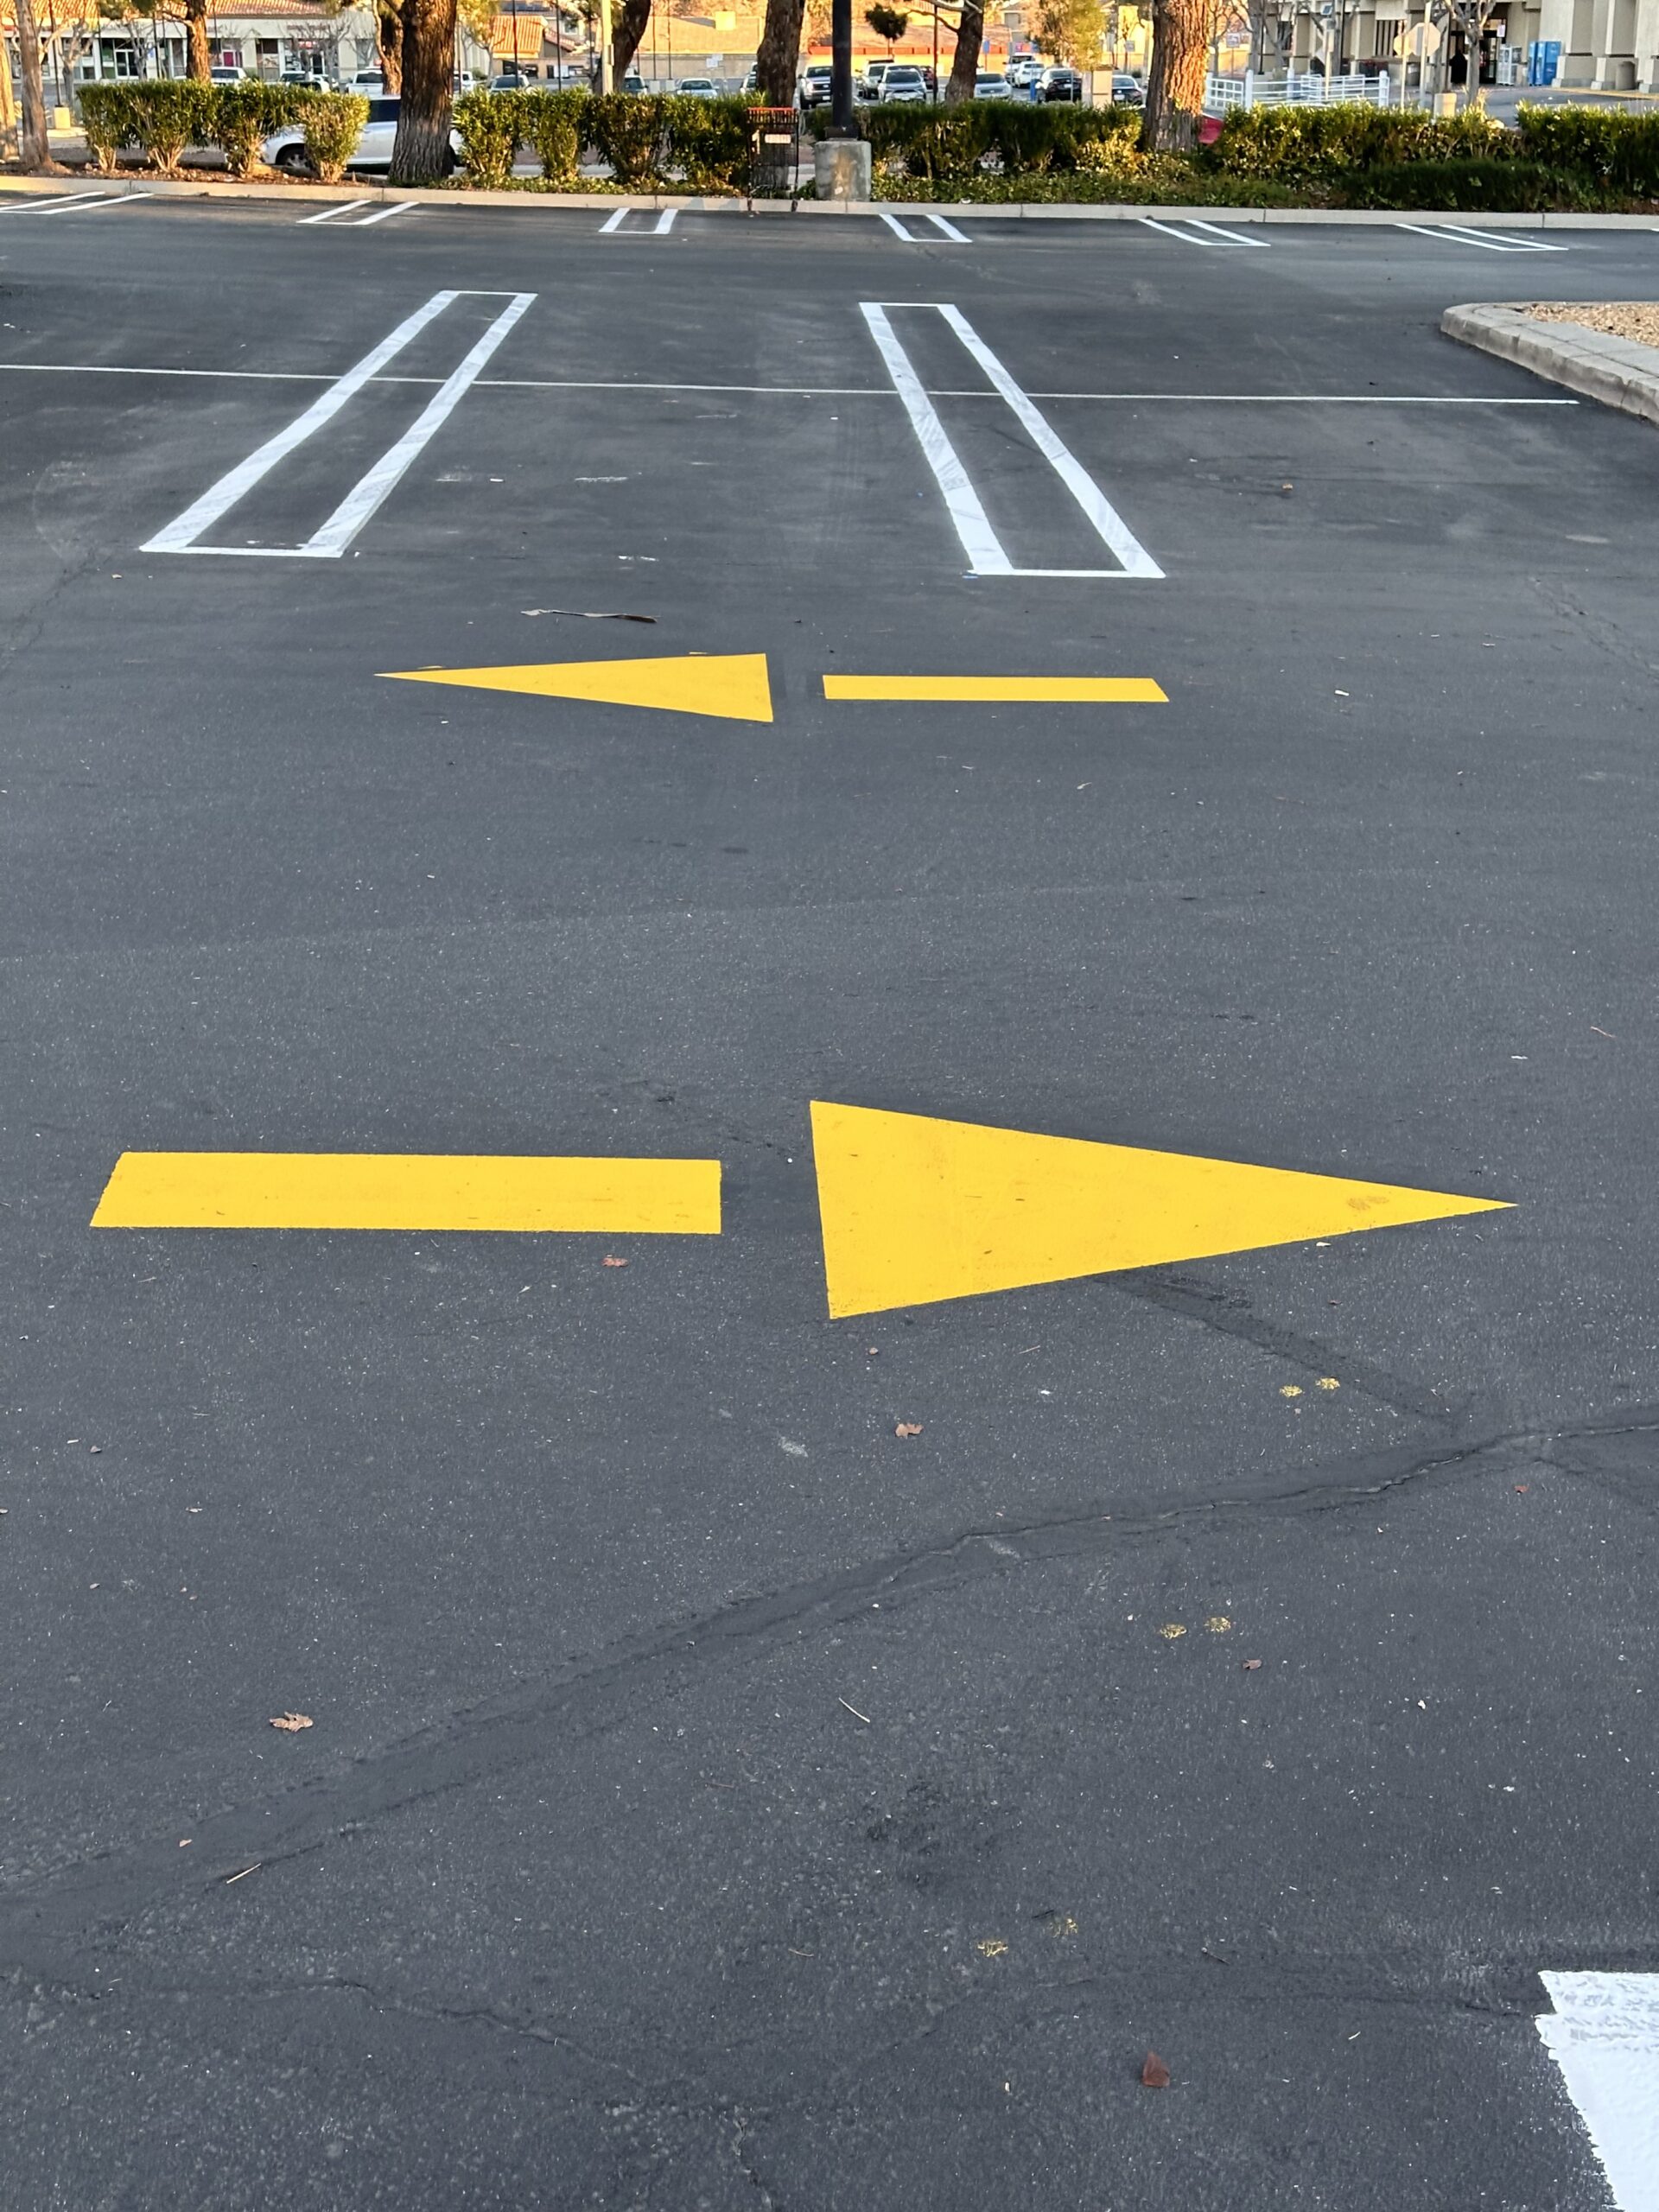
Mark the layout — stripe first, install stops second
Wheel stops must be positioned relative to painted stall lines — not the other way around. If the lot needs re-striping, that work is done first. Once lines are dry, we measure stop placement at the correct setback from walls (2–3 ft), curbs (2–3 ft), and accessible route clearance minimums per CBC 11B-502.7.2. Each stop position is marked with chalk before any drilling begins.
Drill pilot holes — 8 to 12 inches deep
Using a rotary hammer drill with a ½ or ⅝-inch carbide-tipped bit, we drill holes 1/16-inch undersized relative to the rebar pin diameter for a tight interference fit. Standard 6-foot stops receive 2–3 holes spaced evenly. Holes are drilled to 8–12 inches depth — the critical factor that separates stops lasting 10+ years from stops that fail within 12 months. We never drill less than 8 inches regardless of time pressure.
Apply construction adhesive (combination method)
A bead of construction adhesive is applied to the base of the wheel stop before positioning. The adhesive provides immediate positioning stability while rebar pins cure and gives secondary holding when asphalt softens during 100°F+ Valley summers. This combination method — adhesive plus rebar — is our standard on all asphalt installations.
Position the stop and drive rebar pins
The stop is placed precisely over the drilled holes and pressed into the adhesive bead. Steel rebar pins — cut to 10–14 inches — are driven through the pre-drilled holes in the stop and into the pavement holes using a hammer or pneumatic driver. Pins are driven flush with or slightly below the top face of the stop to eliminate trip hazard edges. For concrete parking structures, expansion bolts are substituted for rebar.
Apply AQMD Rule 1113-compliant reflective paint
Concrete and unpainted rubber stops are coated with reflective yellow traffic paint — the same low-VOC AQMD Rule 1113-compliant formulation used for parking stall lines. Yellow reflective paint dramatically improves nighttime visibility and is required for stops in or near accessible spaces. Paint is applied after pins are set and adhesive has tacked — typically 30–60 minutes after positioning.
Pull test and ADA clearance verification
Every installed stop receives a manual pull test before we leave the property — a firm lateral pull to confirm the pin anchoring is secure. Stops that move get re-drilled and re-pinned at no charge. For every stop near an accessible space, we measure access aisle clearance to verify the stop does not encroach on the required 5-foot standard aisle or 8-foot van-accessible aisle per CBC 11B-502.7.2. Any encroachment is corrected immediately.
A typical 50-space lot with one stop per space takes 3–5 hours for a two-person crew including drilling, positioning, pinning, and painting. Larger lots with 100+ stops run 1–2 full days. Lots being done concurrently with re-striping are scheduled so striping dries first, then stops go in — usually the same day. Call (760) 454-1606 for a same-day written estimate covering exact time, cost, and material breakdown.
Rebar vs. Epoxy vs. Bolt — Installation Method Comparison
Anchoring method determines how long a wheel stop stays in place. A stop that shifts under vehicle impact creates both an ADA violation and a trip hazard liability. Professional anchoring is the single most important quality factor in wheel stop installation.
✅ Rebar Pin Anchoring — Recommended for Asphalt
- ½ or ⅝ inch diameter steel rebar pins
- Drilled 8–12 inches into asphalt pavement
- 2 pins per 4-ft stop, 2–3 pins per 6-ft stop
- Holes drilled 1/16 inch undersized for tight fit
- Optional epoxy fill around pins for maximum hold
- Resists repeated vehicle impacts for 10–15 years
- Most common professional installation method in California
✅ Expansion Bolt Anchoring — Recommended for Concrete
- High-torque expansion bolts into concrete parking structures
- Rotary hammer drill with concrete-rated bits
- Epoxy-coated hardware for corrosion resistance
- Provides extremely secure attachment on rigid surface
- Required for concrete parking structures and garages
- More labor-intensive than rebar on asphalt
- Virtually permanent — plan layout carefully before installing
⚠️ Adhesive Only — Not Recommended for Permanent
- Construction adhesive bonds stop to pavement
- Quick installation — no drilling required
- Works for temporary or very light-duty installations
- Fails under repeated vehicle impact within 12 months
- Heat causes adhesive to soften in Valley/High Desert summers
- Shifted stops from adhesive failure are a trip hazard
- Not acceptable for permanent commercial installations
✅ Combination Method — Best Overall
- Construction adhesive for immediate positioning stability
- Rebar pins for long-term mechanical holding strength
- Adhesive holds stop in position while pins are driven
- Pins provide security when adhesive softens in heat
- Best performance in California’s thermal extremes
- Handles 100°F+ Valley summer temperatures reliably
- Our standard installation method on all asphalt projects
Some contractors save time by drilling only 4–5 inches instead of the required 8–12 inches. Shallow pins have inadequate holding surface in asphalt and fail within the first 6–12 months under repeated vehicle impact. A loose wheel stop is worse than no wheel stop — it becomes a moving trip hazard. We drill to full 8–12 inch depth on every installation and verify pin security with a pull test before leaving the property.
When Are Wheel Stops Required vs. Recommended?
California building codes do not mandate wheel stops in every parking lot. They are required in specific situations and recommended in others. Understanding the distinction helps property owners budget appropriately and avoid unnecessary installation.
Required by Code
Under California Building Code Section 11B-502.7.2, a curb or wheel stop is required where vehicles would otherwise encroach on the required clear width of an accessible route. In practical terms this means: any parking space where a vehicle rolling forward would block a wheelchair accessible path — sidewalk, accessible route, ramp approach, or building entrance path — must have a wheel stop or curb. This is a compliance requirement enforceable by building inspectors, CASp auditors, and plaintiffs’ attorneys.
Strongly Recommended
Wheel stops are strongly recommended — though not strictly required by code — for spaces facing landscaping, irrigation systems, fences, utility equipment, building walls, or other infrastructure where vehicle contact would cause costly damage. A single vehicle impact on an irrigation head costs $500–$2,000 to repair. Wheel stops for those spaces pay for themselves in the first prevented incident.
Not Recommended
Wheel stops should not be installed in fire lanes, within accessible route clear width zones, or in spaces with adequate depth where vehicles naturally stop before reaching obstacles. Over-installing wheel stops creates unnecessary trip hazard exposure. We evaluate every property individually and recommend stops only where they provide genuine protection value.
Professional wheel stop installation — Southern California · Bowman Line Striping Inc · CA License #1138257
Wheel Stop Services — What We Provide
Full wheel stop lifecycle management from initial supply and installation through removal, repositioning, and repainting. All work is ADA-compliant per California CBC Title 24 Chapter 11B. Licensed, insured, veteran-owned.
🏗️ New Installation
Concrete, rubber, or recycled plastic wheel stops. Rebar pin anchoring 8–12 inches deep. Reflective yellow traffic paint applied — AQMD Rule 1113 VOC-compliant. CBC 11B-502.7.2 placement verified on every space.
Get free estimate →♻️ Removal & Replacement
Old or damaged stop removal, surface patching where needed, new stop supply and installation. $20–$45 removal per stop. Bundle pricing for removal + replacement projects.
Get free estimate →🔄 Repositioning
Existing stops repositioned for lot reconfiguration, ADA compliance correction, or layout changes. Rebar pins extracted, surface patched, re-drilled at correct position.
Get free estimate →🎨 Repainting
Reflective yellow traffic paint applied to faded or unpainted wheel stops. AQMD Rule 1113 compliant low-VOC paint. Restores visibility and ADA compliance. $15–$30 per stop.
Get free estimate →♿ ADA Audit & Correction
Full measurement of every accessible space against CBC 11B-502.7.2. Written report of violations. Repositioning of any stop encroaching on access aisles or accessible routes.
ADA compliance →📋 Bundled Projects
Wheel stop installation coordinated with seal coating and re-striping as one project. 15–25% savings vs separate mobilizations. ADA re-striping included after seal coat.
Seal coating bundle →Wheel Stop Installation FAQs
Questions answered directly for featured snippets and People Also Ask results.
Professional wheel stop installation in California costs $65 to $125 per stop for concrete and $85 to $150 per stop for rubber, including supply, rebar anchoring, and reflective painting. A 50-space parking lot requiring one stop per space costs approximately $3,250 to $6,250 fully installed. Removal of existing wheel stops runs $20 to $45 per stop. Repainting existing stops costs $15 to $30 per stop. Bundling wheel stop installation with parking lot re-striping saves 15 to 20 percent versus separate scheduling.
Wheel stops should be placed 2 to 3 feet from walls, buildings, and fences. This distance accommodates standard vehicle front overhang — the distance from front tires to front bumper — which averages 2 to 3 feet on passenger vehicles. For lots serving primarily SUVs, trucks, or vans, increase setback to 3 to 4 feet. Stops placed too close to walls allow bumpers to contact the building before tires reach the stop. Stops placed too far from walls waste parking depth and may allow vehicles to drive around them.
Wheel stops should be placed 2 to 3 feet back from curbs and sidewalks. This prevents vehicle front overhang from extending over the curb edge when the front tires contact the wheel stop. Overhang over a sidewalk creates a pedestrian trip hazard and potential ADA violation if vertical clearance drops below 80 inches. For raised curbs with significant height, the standard 2-foot setback is typically sufficient. For flush curbs adjacent to busy pedestrian sidewalks, use 3 feet to provide additional clearance margin.
Standard wheel stop placement distances per California parking lot practice: 2 to 3 feet from walls and buildings, 2 to 3 feet from curbs and sidewalks, minimum 36 inches clear of accessible routes, and never encroaching into accessible parking access aisles per California Building Code Section 11B-502.7.2. Within the parking stall, center the wheel stop — for a 9-foot wide stall, a 6-foot wheel stop leaves 18 inches on each side. Position the stop 3 to 6 inches back from the front parking space line to keep stopped vehicles fully within their marked space.
California Building Code Section 11B-502.7.2 governs wheel stops in parking lots. It states: “A curb or wheel stop shall be provided if required to prevent encroachment of vehicles over the required clear width of adjacent accessible routes.” This means wheel stops are required wherever vehicles would otherwise encroach on an accessible route, and wheel stops themselves must never reduce the required accessible route clear width. The CBC 2025 is the current version in force. Violations of this section trigger liability under the Unruh Civil Rights Act with civil penalties of $4,000 per violation.
Concrete wheel stops weigh 200 to 300 pounds, last 20 to 30 years, cost $65 to $125 installed, and are the most common choice for permanent commercial installations. Rubber wheel stops weigh 50 to 100 pounds, last 5 to 10 years, cost $85 to $150 installed, will not chip or crack, are made from recycled tires, and are easier to reposition if lot layouts change. Concrete is recommended for permanent high-traffic lots. Rubber is recommended for lots expecting future reconfiguration, parking garages, or properties prioritizing environmental sustainability.
Professional wheel stop installation on asphalt uses steel rebar pin anchoring. Contractors drill holes through the wheel stop’s pre-formed mounting holes into the asphalt pavement to a depth of 8 to 12 inches using ½ or ⅝ inch diameter bits. Steel rebar pins are driven through the wheel stop into the pavement. Optional epoxy fills around pins for maximum holding strength. Most 6-foot wheel stops receive 2 to 3 rebar pins. Construction adhesive is sometimes applied under the stop before pinning to provide additional stability. Shallow drilling to only 4 to 5 inches is a common substandard installation practice that causes stops to loosen within 6 to 12 months.
No — wheel stops must never encroach into accessible parking access aisles. California Building Code Section 11B-502.7.2 requires that wheel stops not reduce the required clear width of accessible routes. Standard accessible spaces require 5-foot access aisles. Van-accessible spaces require 8-foot access aisles. Even a 1 to 2 inch encroachment reduces clearance below legal minimums and creates an immediate ADA violation. This is the most frequently cited parking lot accessibility violation in California. If existing wheel stops encroach into access aisles they must be removed or repositioned — they cannot remain in place regardless of how long they have been there.
Properly installed concrete wheel stops last 20 to 30 years with minimal maintenance in California conditions. Rubber wheel stops last 5 to 10 years, with UV degradation accelerating deterioration in high-desert and Valley locations with extreme sun exposure. Recycled plastic stops are highly UV-resistant and can last 15 to 20 years. All wheel stops require periodic inspection and repainting every 2 to 3 years to maintain reflective visibility regardless of material type. Stops that become loose, cracked, or shift out of position should be replaced promptly — a damaged wheel stop creates more liability than no wheel stop through trip hazard exposure.
Installing wheel stops in an existing parking lot as maintenance or replacement generally does not require a permit in California. Replacing damaged stops or adding stops to spaces that previously had them is considered maintenance. However, installing wheel stops as part of a new parking lot construction, major lot reconfiguration, or as part of an ADA upgrade project may require building permit approval as part of the larger project scope. When in doubt, verify with your local building department before beginning installation. A licensed California contractor familiar with local permitting requirements can advise on permit needs for your specific project.
Wheel Stop Installation Service Areas
We provide wheel stop supply and professional installation throughout Southern California and the Central Valley from our Van Nuys location. Same-day quotes available for most Southern California commercial properties.
Related Services
Get Your Free Wheel Stop Estimate Today
Supply, installation, removal, re-anchoring, and repainting throughout Southern California. Written quote with exact materials, quantities, and pricing. Same-day estimates available.
Request Free Written Estimate →Veteran-Owned · CA Contractor License #1138257 · BBB Accredited · Mon–Sun 8am–7pm